5 Do-It-Yourself Wedding Invitation Ideas
What are the best ideas/themes for DIY wedding invitations?
- Classical and Traditional
- Vintage
- Happy Ending
- Rustic
- Monogram
Special occasions – like weddings, for instance – are often celebrated in a grand manner in the Philippines. Wedding catering, music and entertainment, as well as the venue are all hired, planned, and reserved months before the big celebration. Truly, a lot of thought and preparation are involved when organizing a wedding.
Another thing that has to be prepared months before the celebration are the wedding invitations. Although it seems simple, this can cost actually cost much more than one would think. To save money for your wedding, try creating your own invitation instead of hiring someone to design and print them for you. Here are some do-it-yourself wedding invitation ideas that you can choose from!
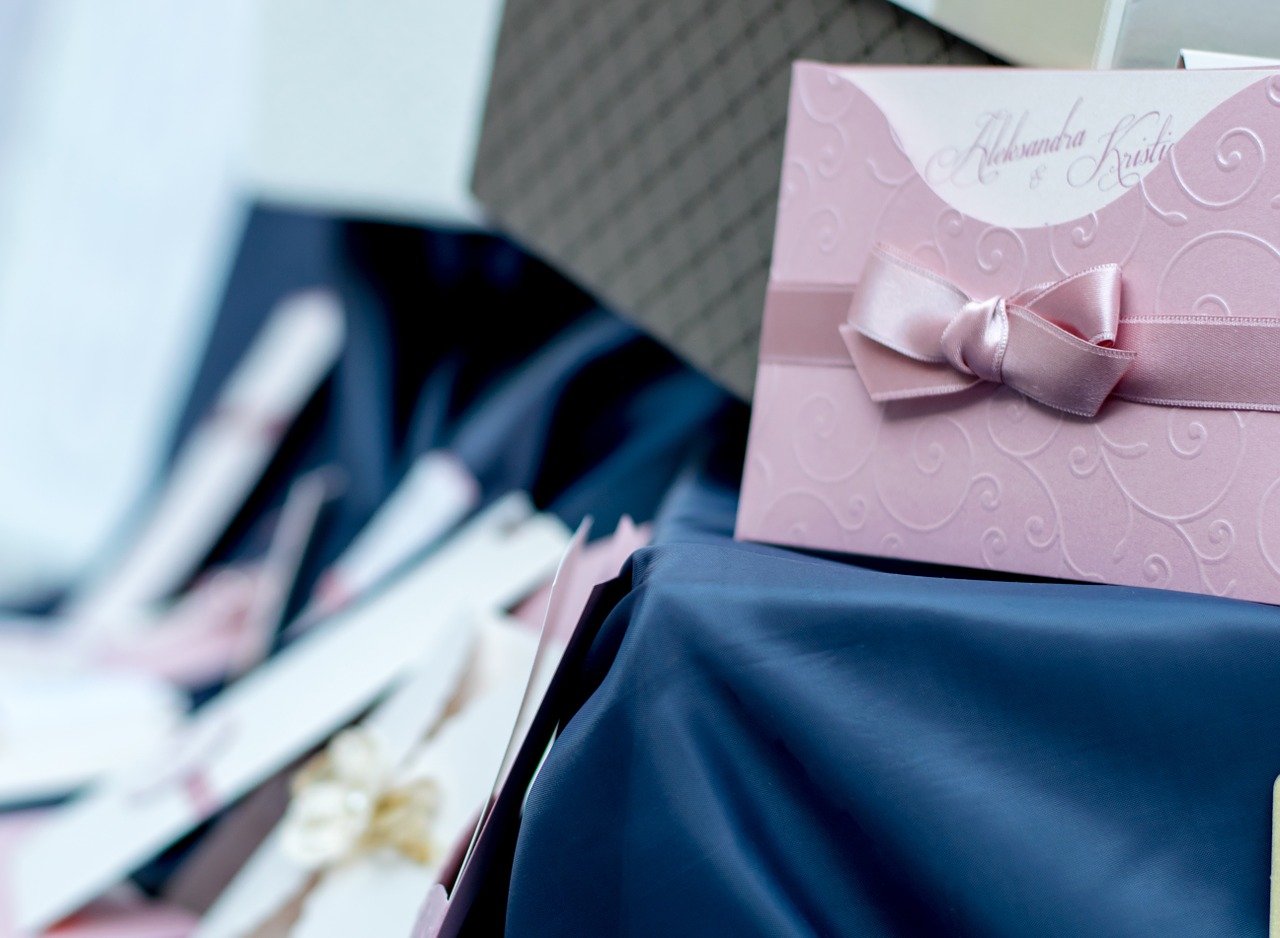
Classical and Traditional
Some brides like a more contemporary wedding, but there are others who opt to stick with traditional. If you want a classical wedding, you should craft an invitation that complements your theme.

Here’s how:
- On a plain paper, print out your invitation text with the preferred font. Remember to put just enough space on the left side – about 75mm – for the ribbon and paper. Then, trim it to a 140mmx140mm square.
- If you have flocked paper with a horizontal design, then trim it to a length of about 140mm. Use either a paper trimmer or a pair of scissors to do this. Afterwards, attach it carefully to the top of your invitation. To avoid ruining the paper, use adhesive tape instead of glue.
- Get a white ribbon that is 150mm long and attach it to the invitation with the use of adhesive tape rollers. Tuck the excess ribbon around the back and fasten it neatly.
- With another piece of ribbon – this time a 120mm in size – to create a buckle bow. You can also experiment on different kinds of bow to give your invitation a unique and exciting look. Attach this anywhere you see fit.
Vintage, Baby!
Most millennials today adore everything vintage, from photography to fashion, cars to artworks. If you are of the individuals who adore vintage items, then you will love the next invitation idea.
Here’s how:
- Using A7 envelops and “paperbag” cards, make a simple backdrop for graphic text and detailing.
- Add a border on top of your invitation by using a white card stock and paper puncher.
- Put some lace on the card and sew it on by using a sewing machine. You can use a standard needle for this task, but you can also try out different kinds of tactics that you can view online.
- Add some graphic elements to your invite like hand drawn wreaths and ribbons on digital software programs like Photoshop.
- Print out all these details and arrange them all together.
Tip: You can ask some of your friends and family members if you are having troubles with some of the methods like Photoshop and sewing patterns.

A Happy Beginning
Couples often liken their love stories to that of a fairy tale, so why not try to make an invitation that is inspired by one? After all, every bride and groom deserves to have their own happy ending.
Here’s how:
- Gather all the materials: 6×6 pocket folds, pocket inserts, mat paper, white card stock, sticker paper, stick-on crystal gems, ribbons, and your home printer.
- Print out all the wedding details that you wish to share on the invitation, along with the appropriate design that you want. Arrange them in an 8.5”x11” page layout to easily print them out.
- Cut out all the parts and dimensions after printing them out. If you have a Circuit Mini, you can use that to make your job easier.
- After everything has been cut out including the mat paper, add the crystals to the main monogram and invitation. Use glue to place the gems on the invitation. Let them dry overnight.
- Glue each of the printed pieces to the mat papers. Also, paste the pocket fold to the main piece and wait for them to dry out.
- Attach the monogram to one side of the ribbon using a tape.
- Put all the inserts inside the pocket. Cut the ribbon that it is long enough to wrap around the pocket fold. Attach the other end of the ribbon to the monogram with tape.
- Put the whole thing inside an envelope.
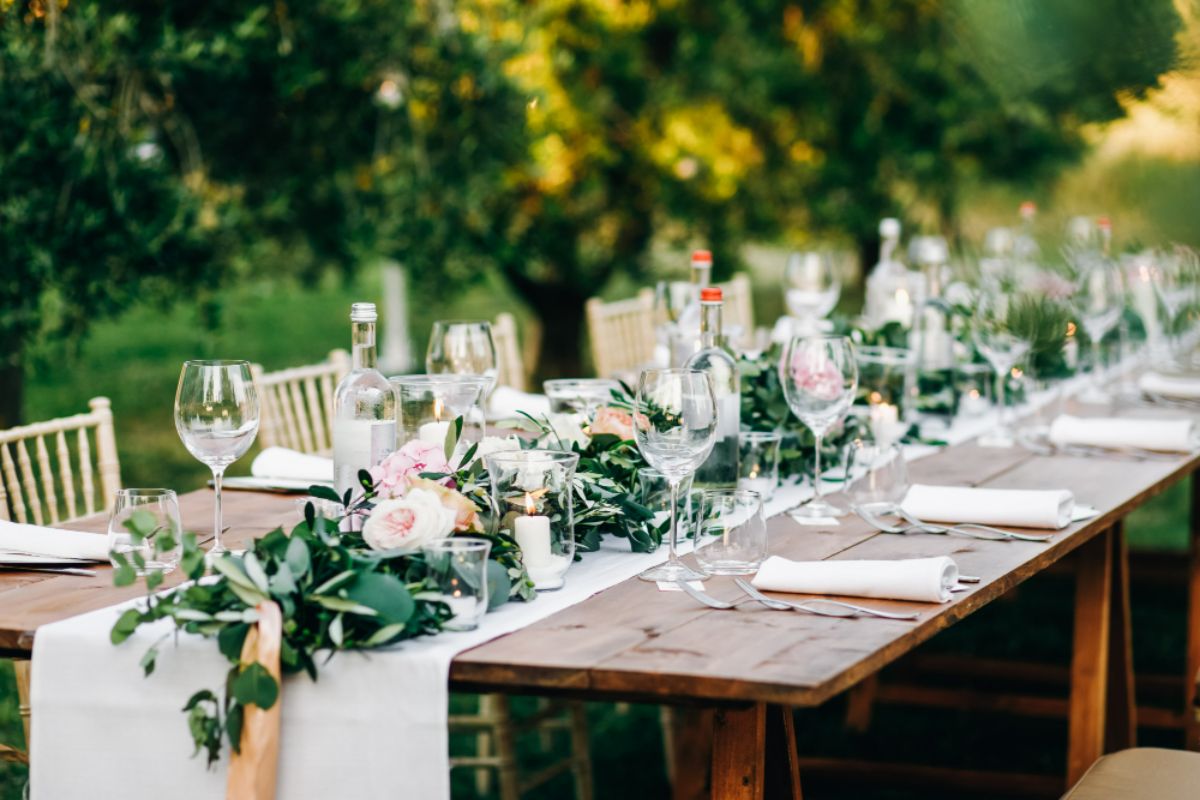
Go Rustic!
One of the most popular wedding themes over recent years is the rustic wedding. Like the country-style wedding, rustic weddings offer a more natural and down-to-earth feel. To be consistent with the theme, these rustic pocketed wedding invitations would definitely give guests an idea of what to expect.
Here’s how:
- Fold up some carboard to create the base for the pocketfolds.
- Apply your desired stamp designs on it.
- Attach text inserts to your invites.
- Apply borders to your envelope to enhance the look.
- Create a pocket by folding the bottom flap and attaching it to the rest of the envelope with double sided tape.
- Place the main invitation card on the top of the pocketfoold; use double sided tape again.
- Place the rest of the inserts into the pocket and you are finished!
Monogram
If you want a more formal invitation for your guests while still having a good degree of style, then you can create monogram invitations. This combination of stamps and envelopes would ensure that you have quality invitations for your big day.
Here’s how:
- Get a set of clean stock cards. Use rubber invitation stamps to place your message on these. Make sure to press moderately to prevent it from smudging.
- Get another set of stock cards for your reply card. Stamp your reply message along with the reply address.
- Create an email and phone card using a smaller set of stock cards. Stamp these messages on as well. This would be helpful for guests who would not be able to reply in a traditional manner.
- Once you have finished stamping, apply the monogram stamps on the edges of the cards.
- To complete the formal and old-fashioned look, use kraft sacks and bags to place your invitations in. Add an even more authentic look, stamp them with design stamps.
Key Takeaway
These wedding invitation ideas will not only help you save some cash, but also make your wedding a lot more personalized.